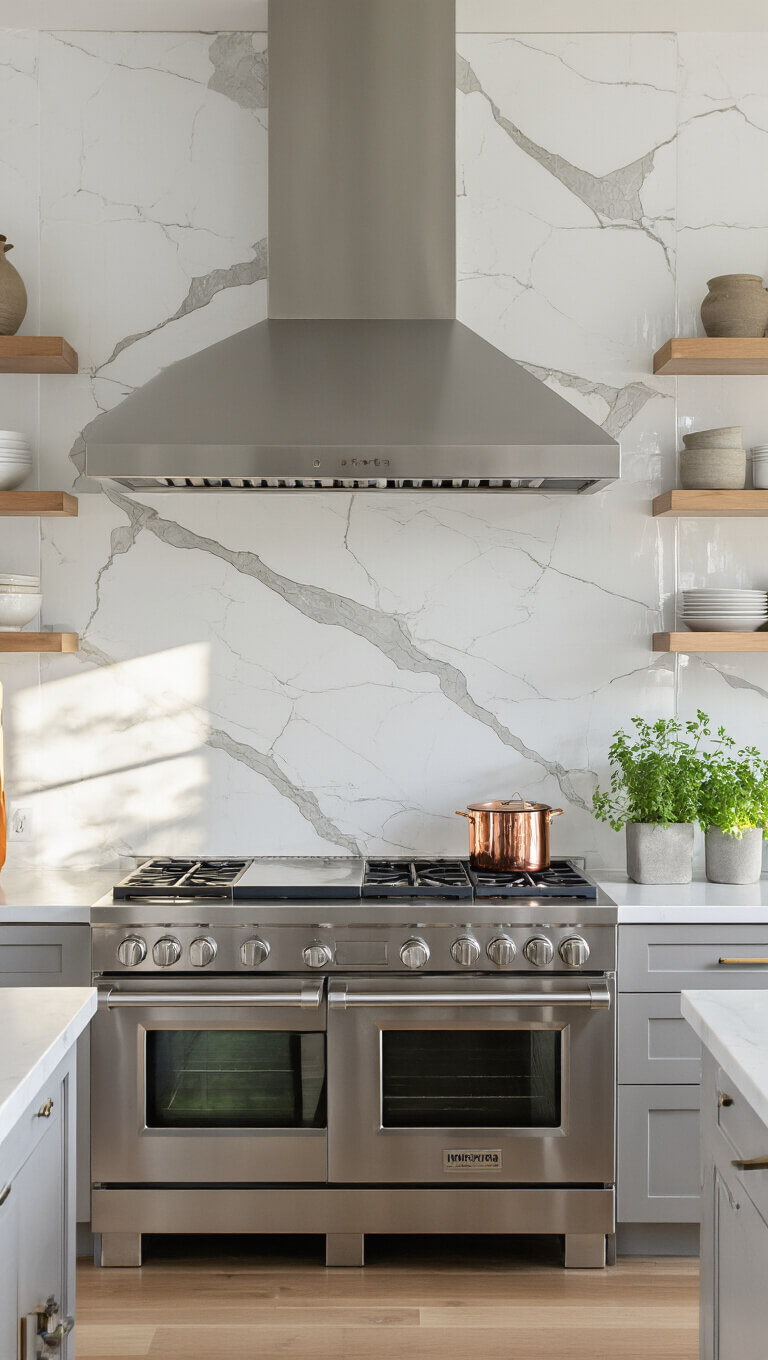
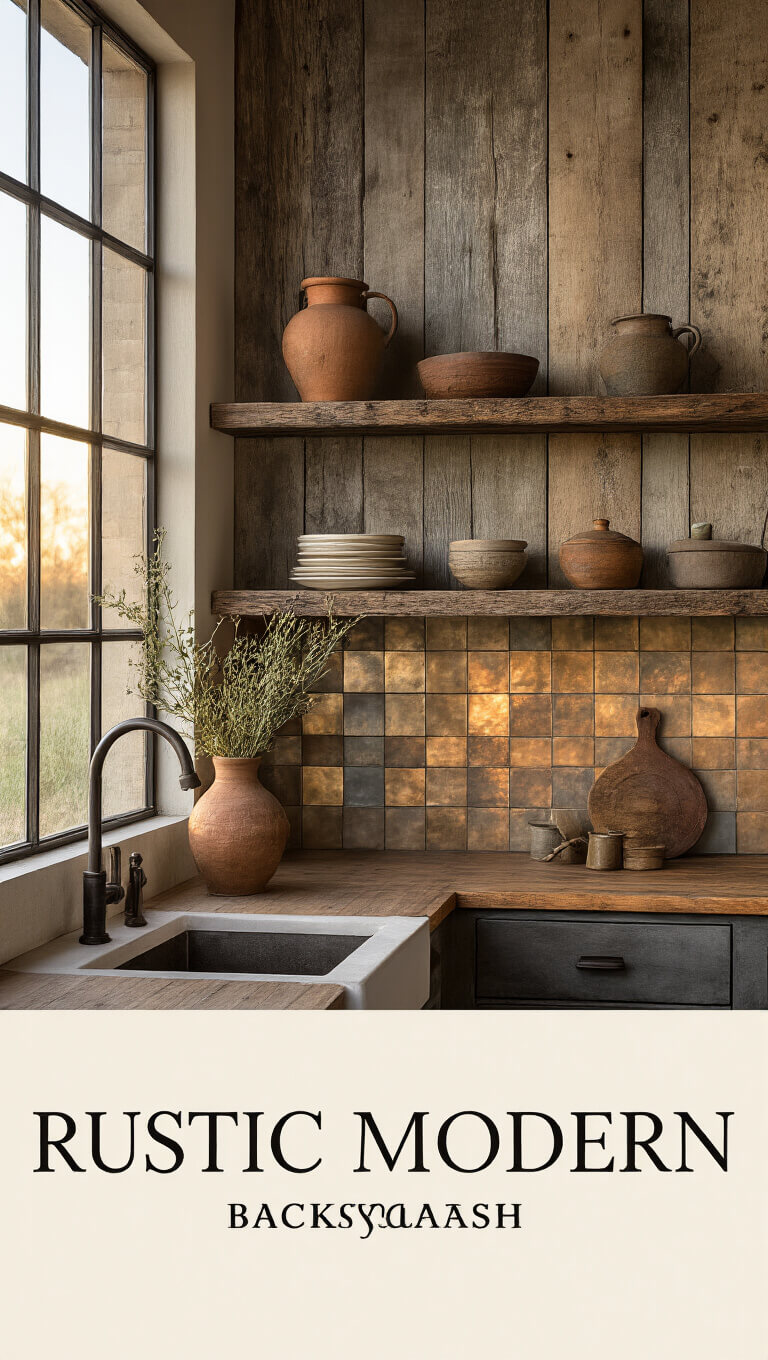
Why Your Kitchen Backsplash Matters More Than You Think
Let’s get real. Your backsplash is the unsung hero of kitchen design. It’s not just a functional wall covering – it’s a statement piece that can:
- Totally transform your kitchen’s vibe
- Add personality to a bland space
- Protect your walls from cooking chaos
- Increase your home’s resale value
Budget-Friendly Magic: From $100 to Stunning
Here’s the truth bomb: You don’t need a millionaire’s budget to create a jaw-dropping backsplash. Whether you’ve got $100 or $1,500, I’ll show you how to make every dollar count.
Essential Tools for Your Backsplash Adventure
Photography Essentials
- Smartphone with a killer camera
- Natural light (hello, window!)
- Some basic styling props
- Editing app (Lightroom is my go-to)
Pro Styling Tips
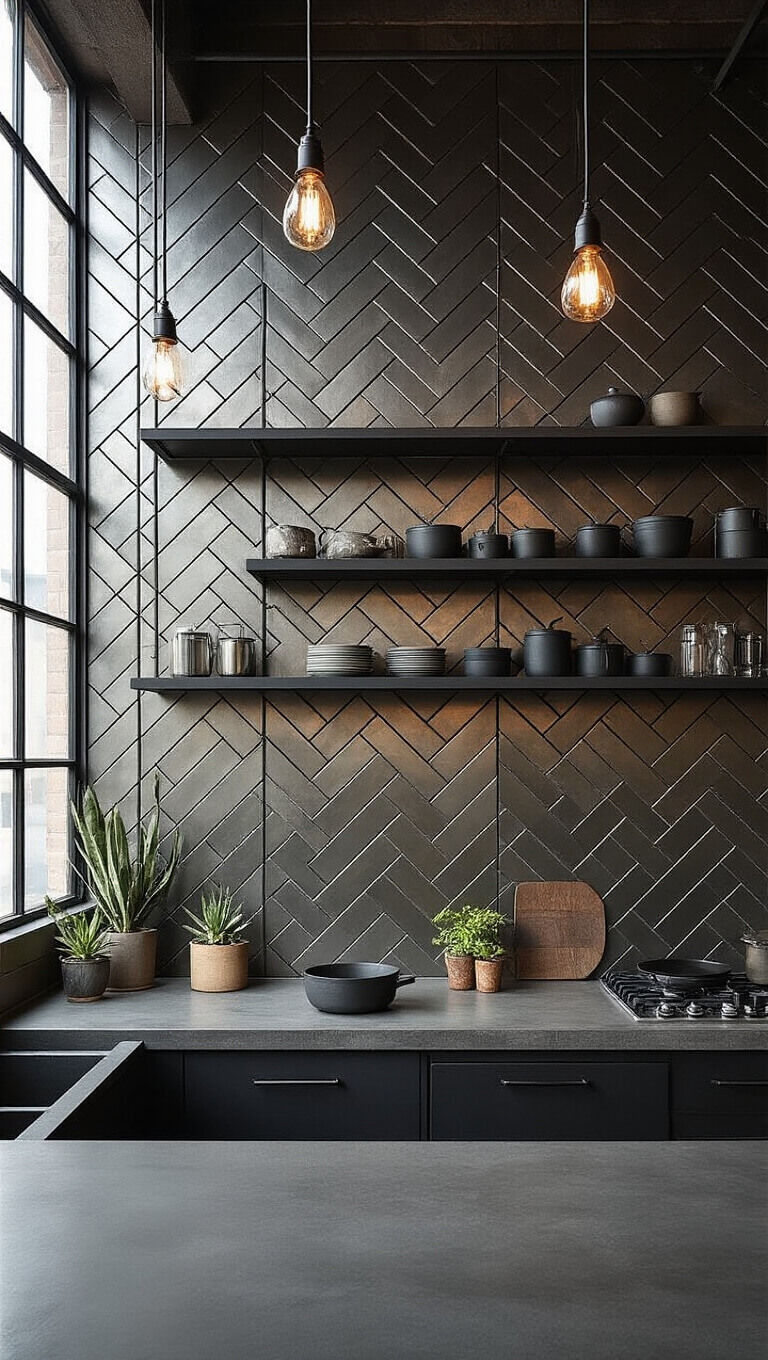
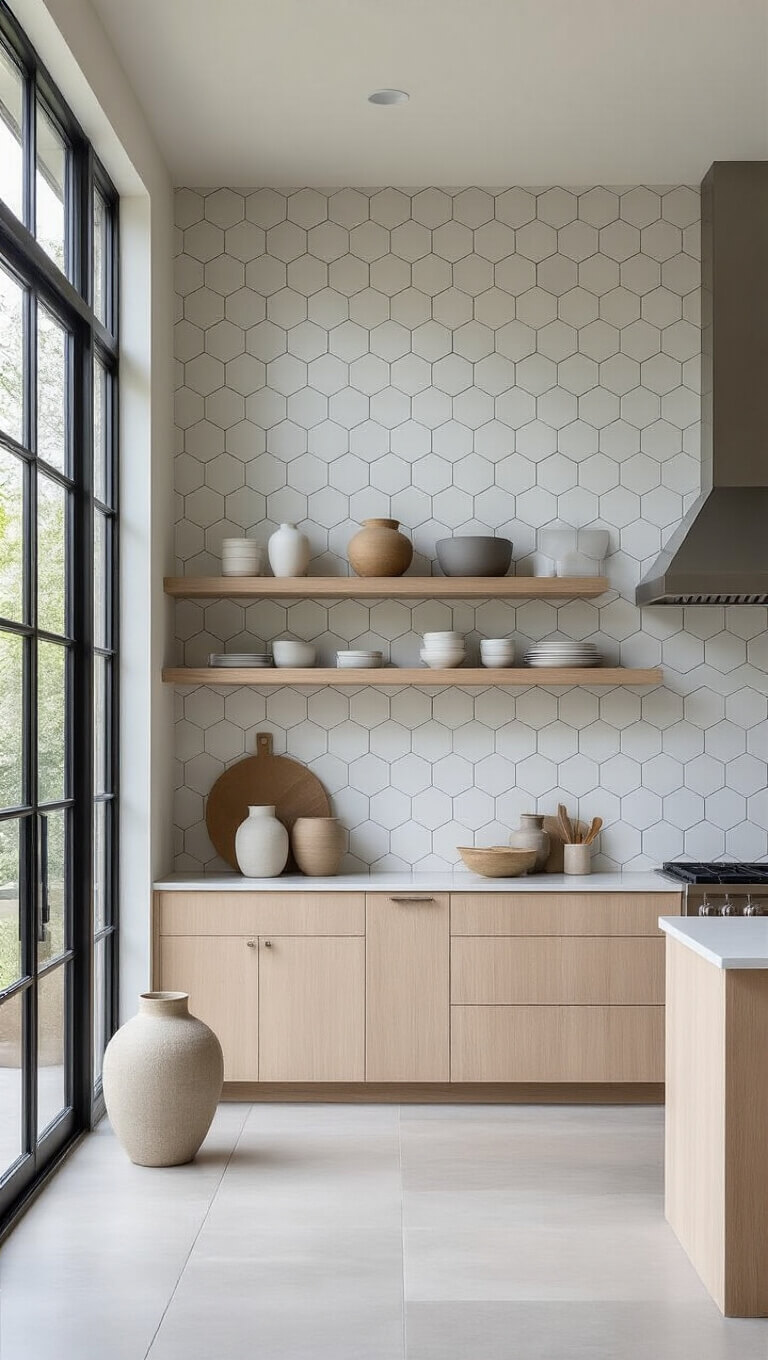
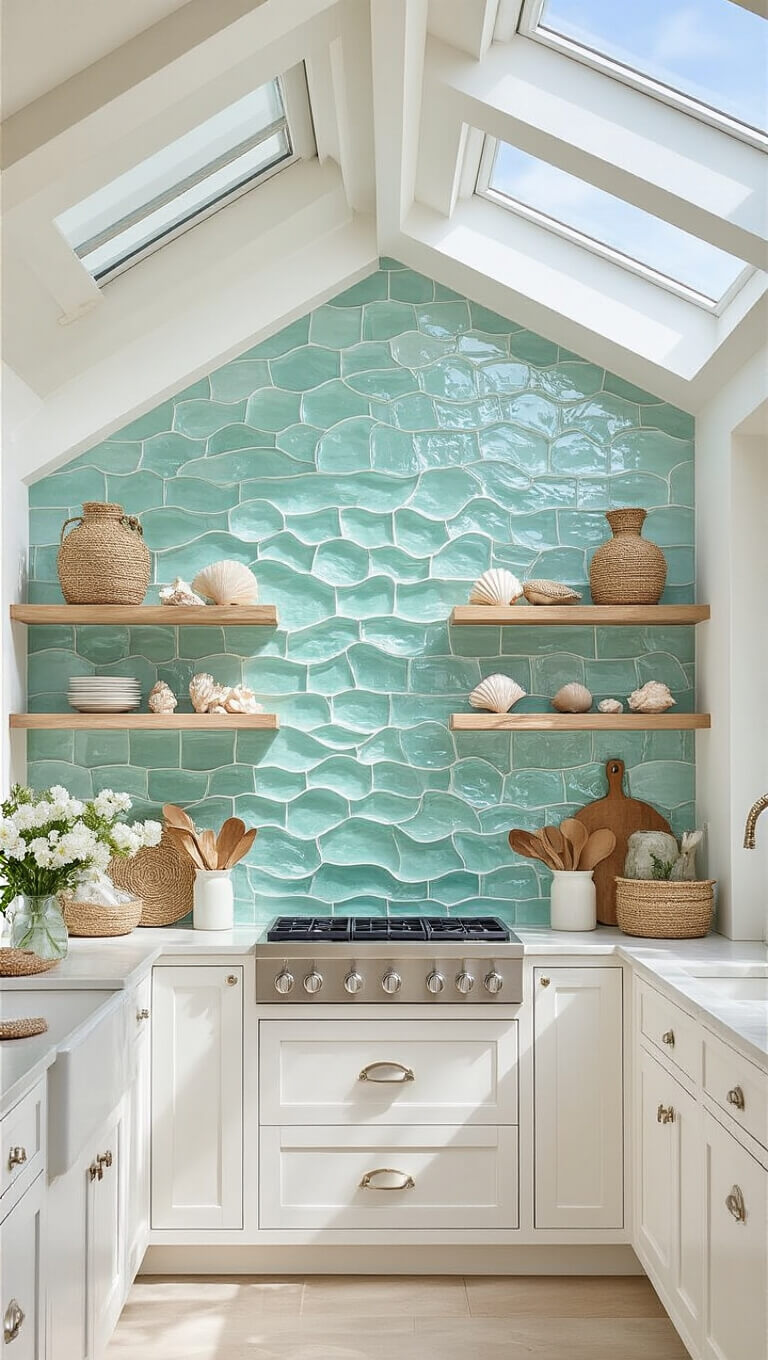
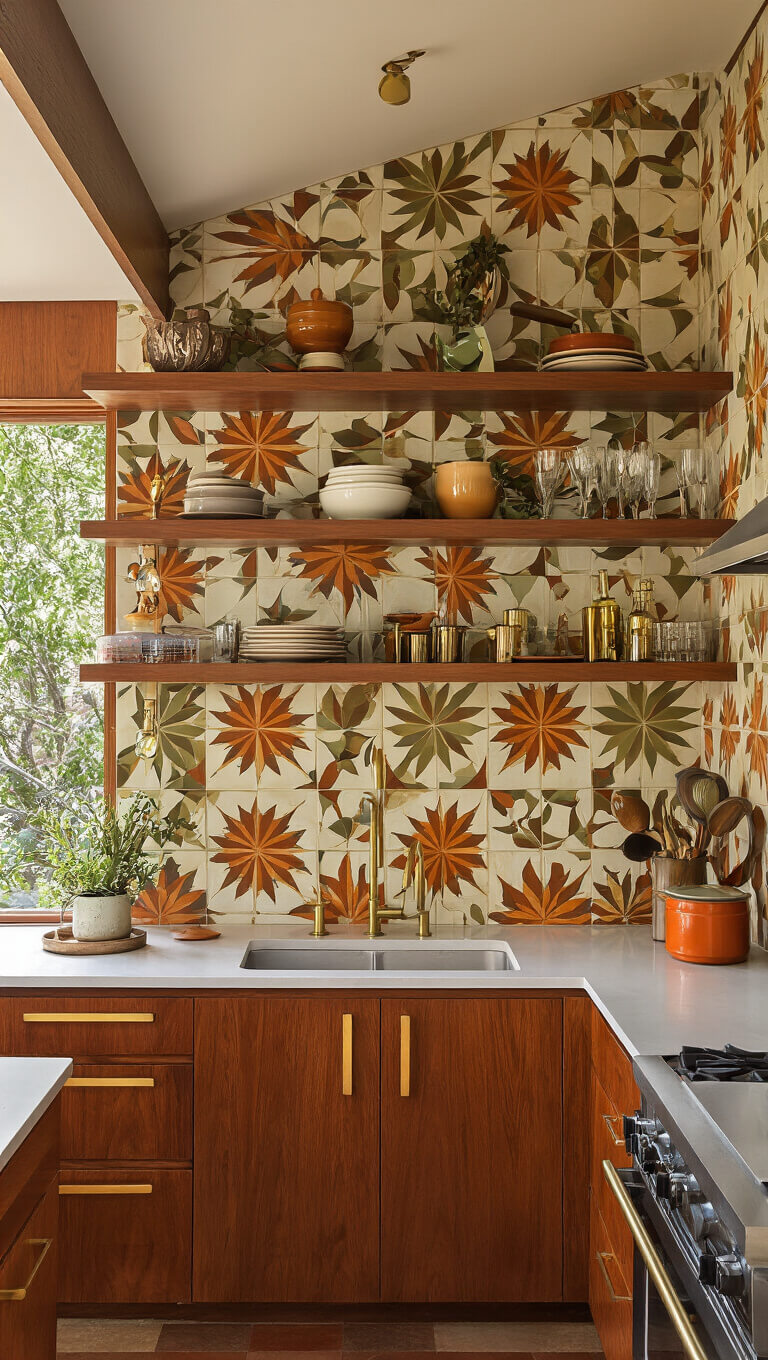
- Texture is King: Mix smooth tiles with rough elements
- Color Coordination: Make your backsplash sing with your kitchen’s palette
- Pattern Play: Don’t be afraid to mix unexpected designs
Step-by-Step Backsplash Transformation
1. Clear the Decks
First things first – declutter that kitchen. A messy background is a photographer’s nightmare.
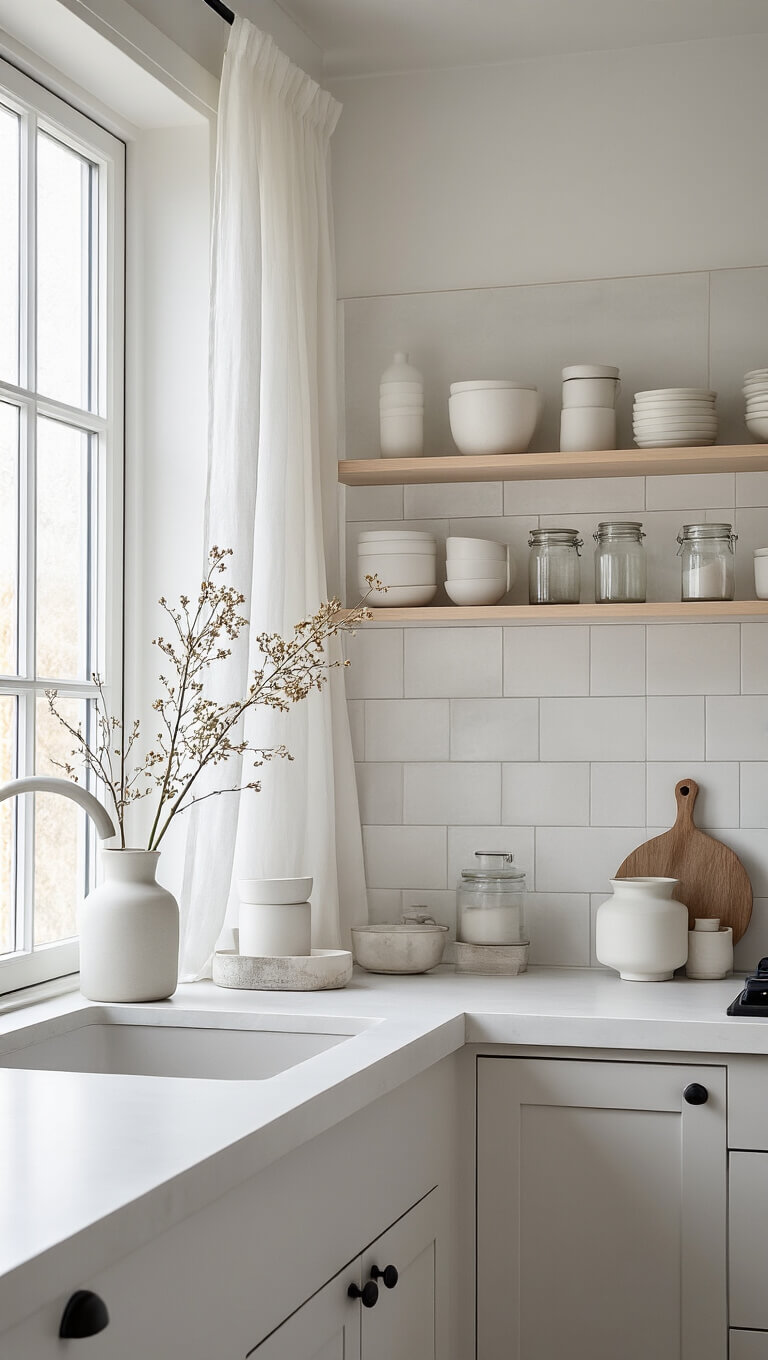
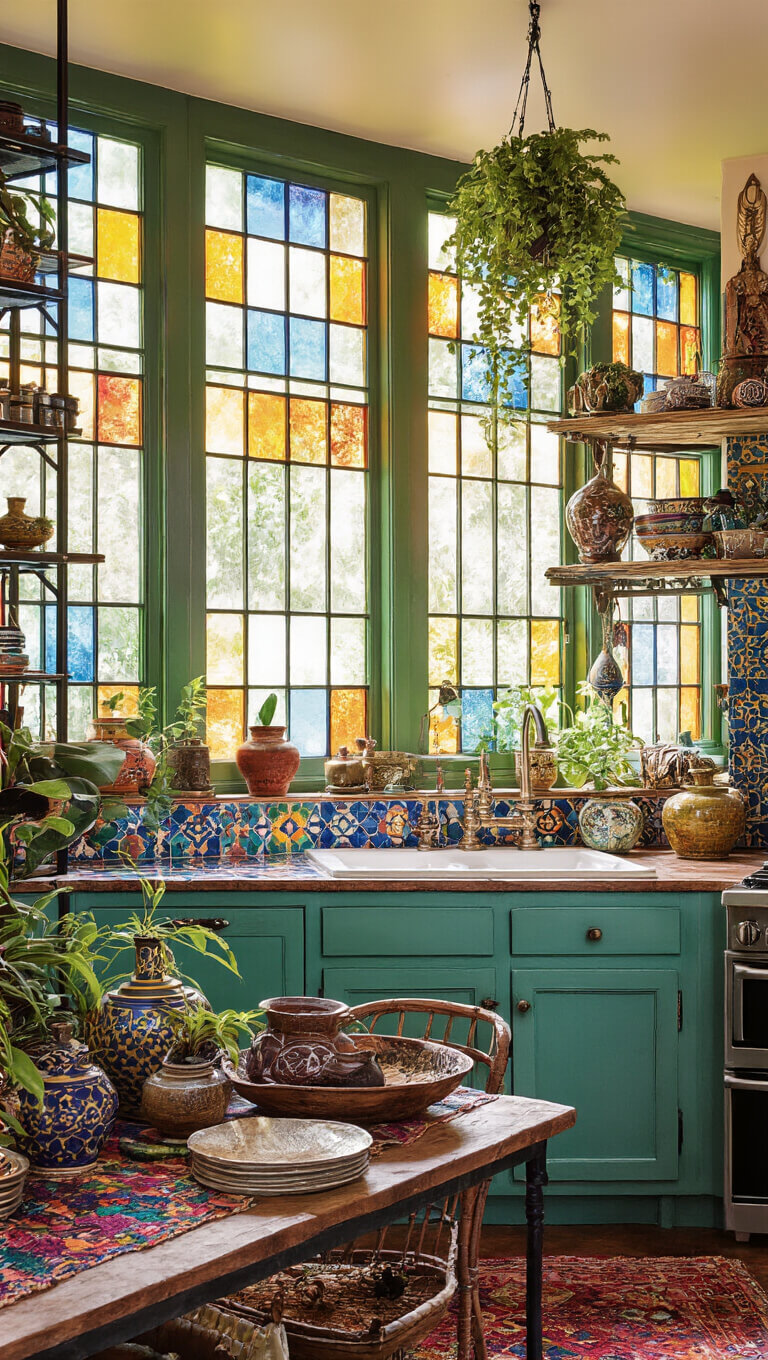
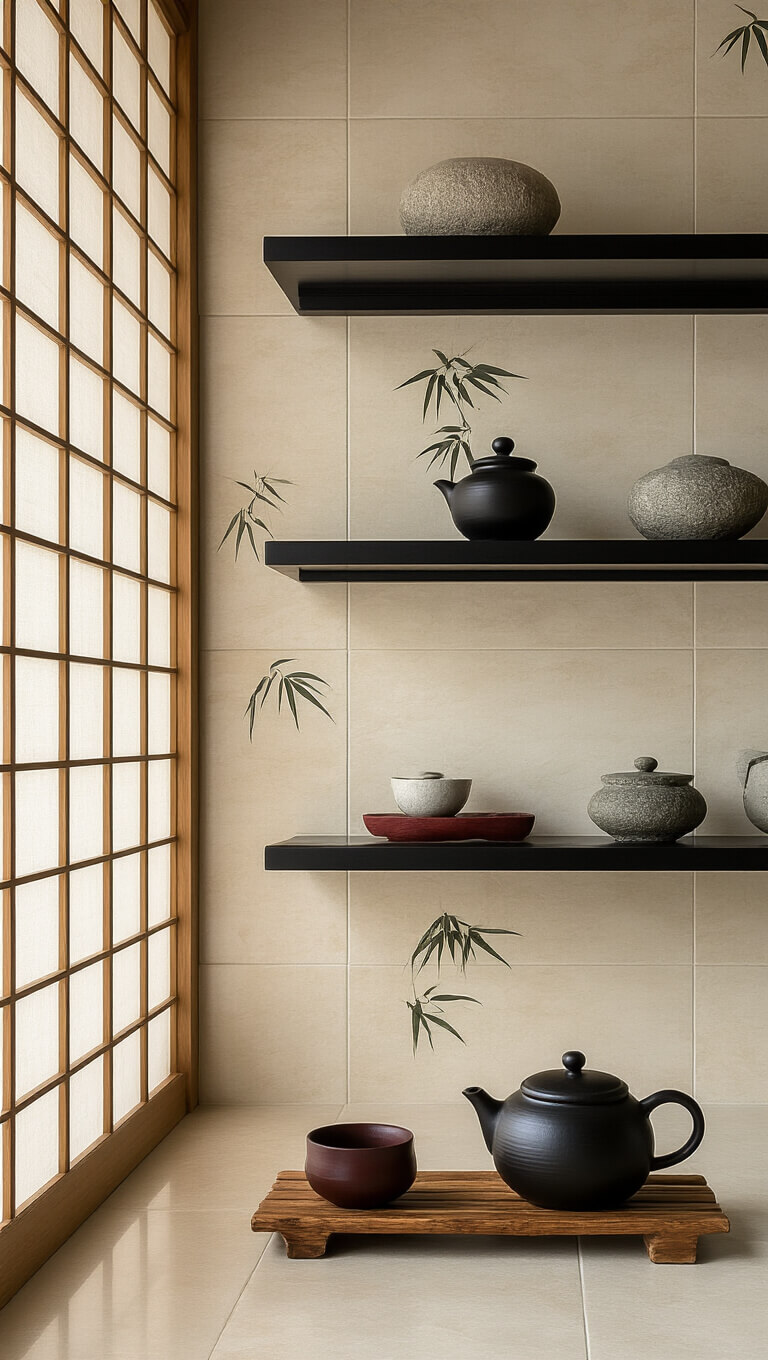
2. Choose Your Style Vibe
Are you:
- Modern minimalist?
- Cozy farmhouse lover?
- Bold and dramatic?
Your style determines EVERYTHING.
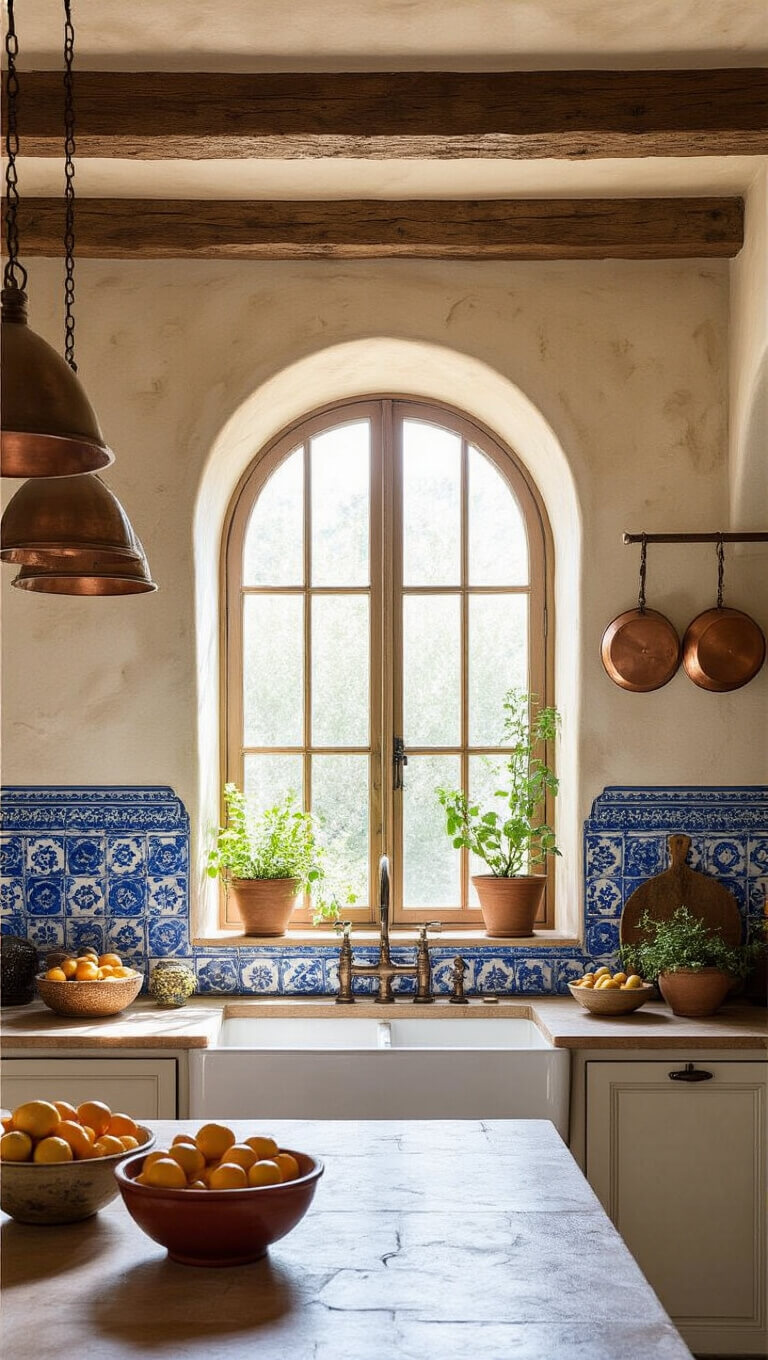
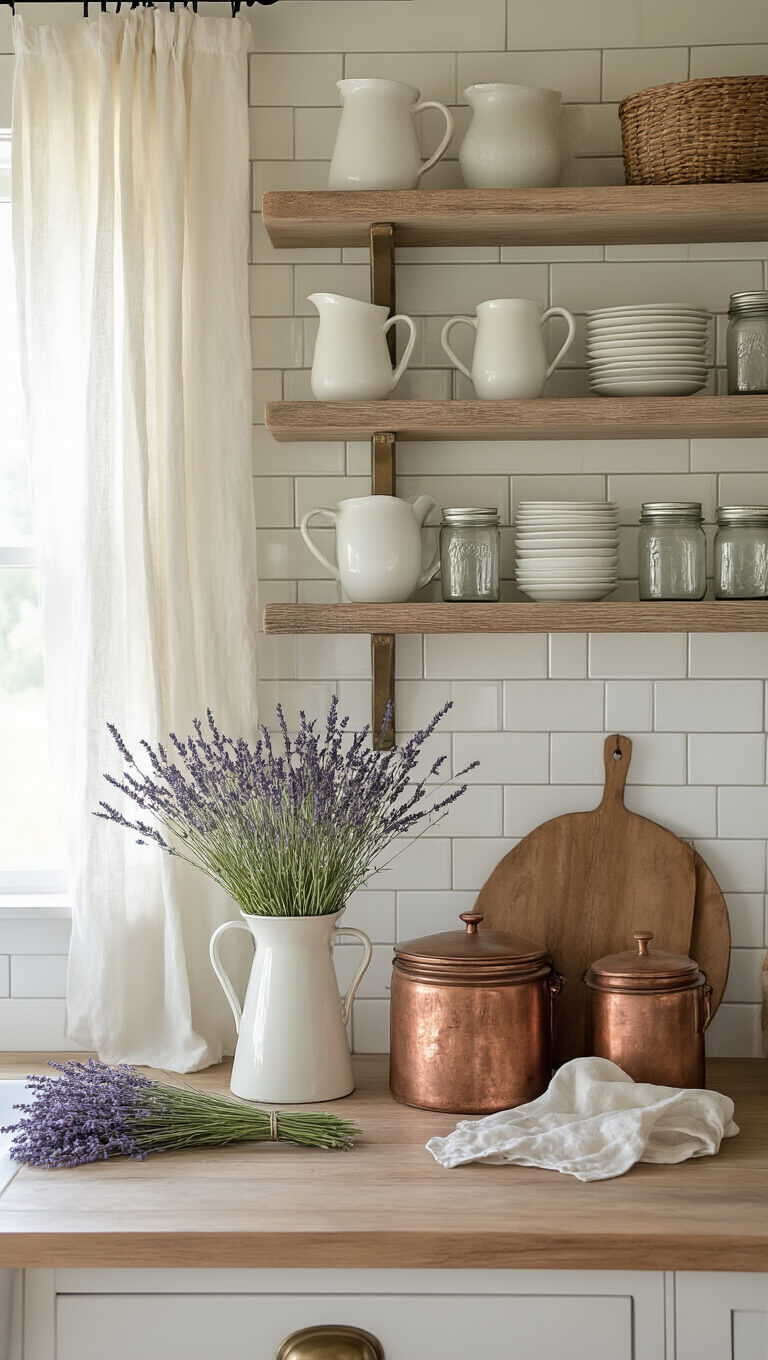
3. Prop Like a Pro
Some killer prop ideas:
- Fresh herbs in cute ceramic pots
- Vintage copper cookware
- Sleek modern utensils
- A strategically placed cutting board
Lighting: The Secret Sauce of Amazing Photos
Natural light is your bestie. Shoot in:
- Early morning soft light
- Late afternoon golden hour
- Near a big window
- Avoid harsh midday sunlight
Camera Angles That’ll Make Pinterest Jealous
- Shoot from eye level
- Try overhead shots
- Get up close with macro shots
- Experiment, experiment, experiment!

Common Mistakes to Dodge
Warning: These will DESTROY your backsplash design:
- Overcrowding your space
- Ignoring color balance
- Using harsh, unflattering lighting
- Forgetting to edit your images
Budget-Friendly Hacks
Who says amazing design costs a fortune? Not me!
- Explore tile clearance sections
- Consider peel-and-stick options
- Mix high-end and budget tiles
- DIY grout and installation
Final Pro Tips
- Always have a backup plan
- Take MULTIPLE shots
- Don’t be afraid to get weird with your styling
- Practice makes perfect
Seasonal Twist
Pro move? Update your backsplash styling with seasonal touches. Summer herbs, winter pine branches – you get the idea.
Your Backsplash, Your Rules
Remember, there’s no “perfect” backsplash. There’s only YOUR backsplash. Break the rules, have fun, and create something that makes YOU happy.
Disclaimer: Some links might be affiliate. But trust me, I only recommend stuff I’d use in my own kitchen.